
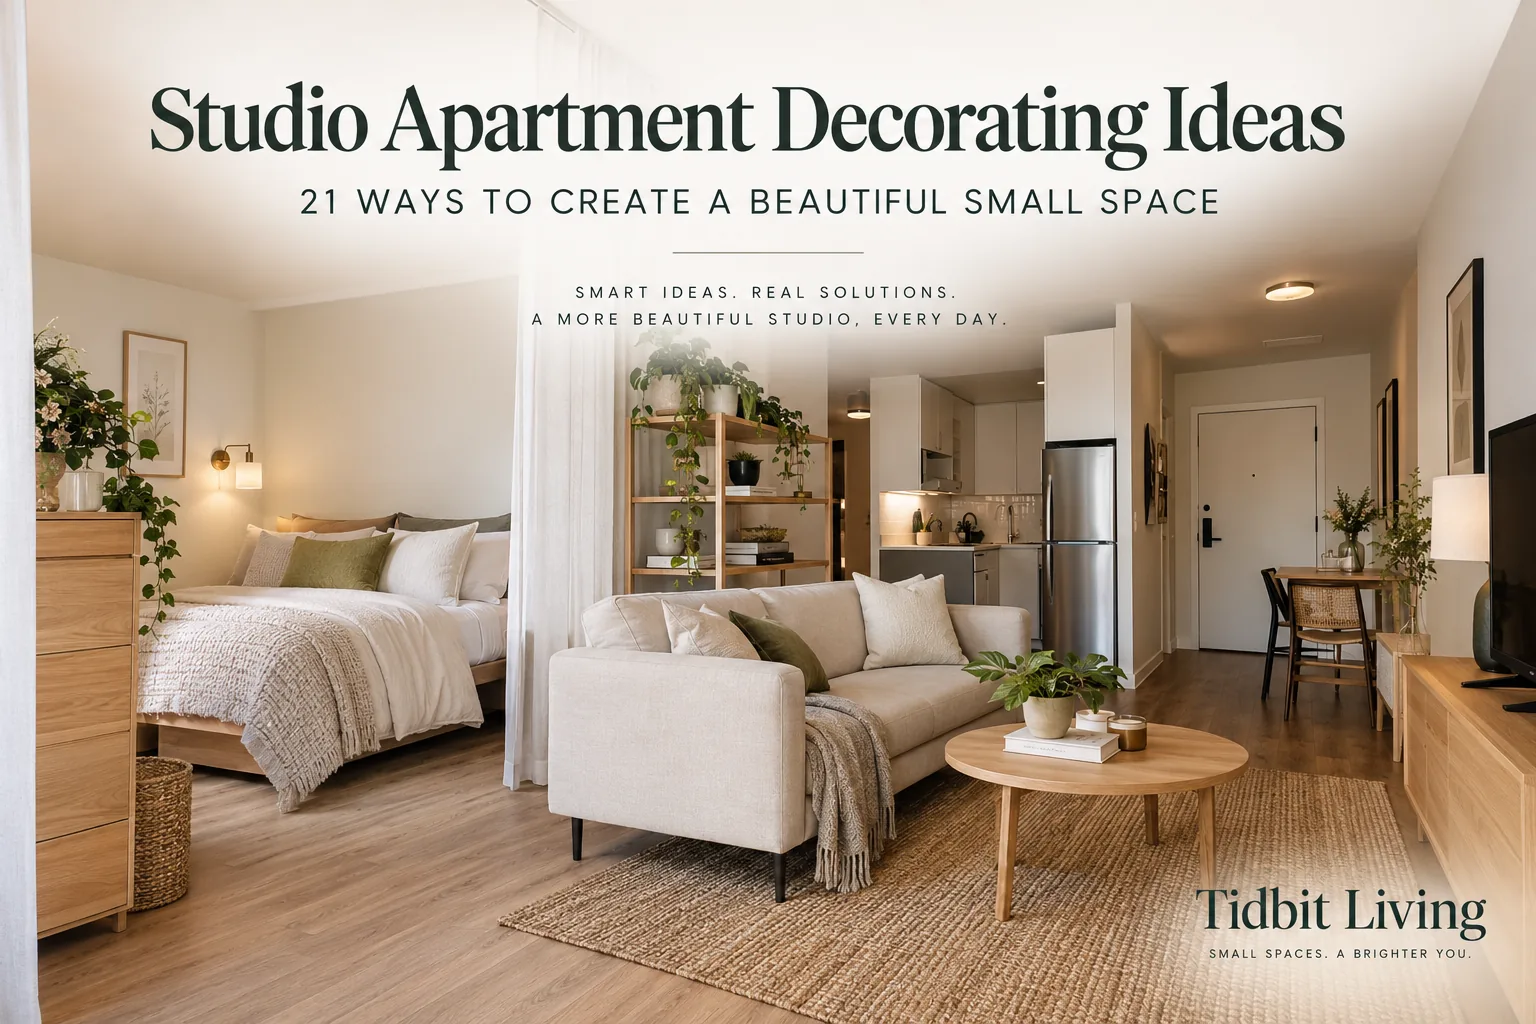

Decorating a studio apartment is different from decorating a small one-bedroom. Your bed, sofa, dining area, desk, storage, and often part of the kitchen share one visual field, so every decorating choice affects the whole room.
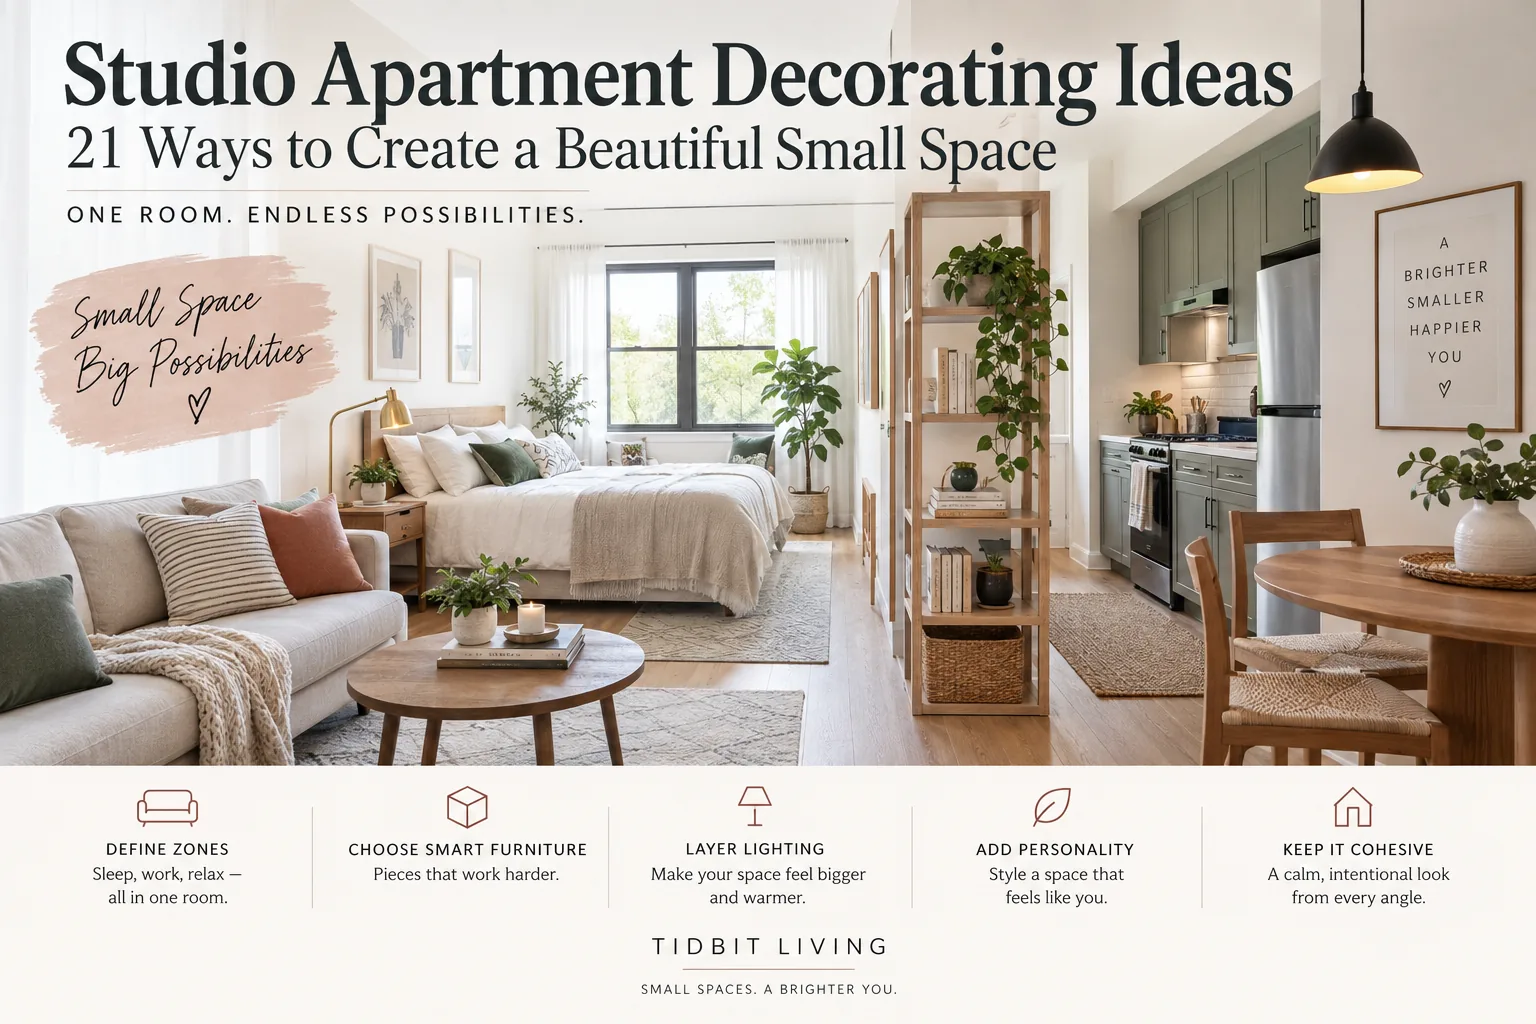
This guide focuses specifically on the visual challenge of decorating one open room. For furniture placement and circulation, use our studio apartment layout ideas. If you are choosing the furniture itself, see how to furnish a studio apartment without overcrowding it. Our broader small apartment decorating guide covers principles that also apply to one-bedrooms and other compact homes.
What Makes Studio Apartment Decorating Different?
In a studio, there is usually no door to hide an unmade bed, a work setup, or a visually busy storage area. You can often see several functions from the entrance at once. That makes sightlines, repetition, visual zoning, and editing more important than simply collecting attractive decor.
The goal is not to make a studio pretend it has four separate rooms. It is to make sleeping, relaxing, eating, working, and storing things feel intentional while the apartment still reads as one coherent home.
| Studio problem | Decorating response | Usually avoid |
|---|---|---|
| Bed dominates the room | Define a stronger living zone and soften the sleeping zone | Adding a bulky opaque divider automatically |
| Everything blends together | Use rugs, lighting and furniture orientation to create zones | Different color scheme for every function |
| Room looks busy from the door | Calm the first sightline and use more closed storage | Decorating every visible surface |
| Studio feels dark | Protect window light and layer lamps at different heights | Tall furniture blocking the main window |
| Rental feels generic | Use textiles, art, lighting and reversible treatments | Permanent changes that conflict with the lease |
Before You Decorate: Check the View From the Door
Stand at the entrance and take a photo of the entire studio. Then take another from the place where you spend the most time. These two views reveal what dominates the room: the bed, a TV, cluttered shelving, a blank wall, an undersized rug, or too many unrelated objects.
Pick one visual priority for the main view. It might be a calm seating area, one substantial artwork, a well-made bed, a window, or a beautiful storage wall. You do not need to hide every functional object; you need to decide what the eye should notice first.
From the entrance, ask:
1. What is the first large object I notice?
2. Can I see a clear path into the room?
3. Is the brightest window visually open?
4. Are there more than three competing focal points?
5. Does visible storage look intentional or accidental?
Fix the main sightline before buying more decor.
21 Studio Apartment Decorating Ideas
1. Start With the Bed, Then Decorate Around It
The bed is usually the largest visually unavoidable object in a studio. Position it before choosing rugs, artwork, shelving, or accent furniture. If possible, keep it out of the strongest route between the entrance and window.
Then make the bed look intentional. A substantial headboard, coordinated bedding, two or three repeated colors, and one nearby light can turn it from “a bed in the living room” into a defined sleeping zone.
Use the bed placement to solve the studio, not just the sleeping area. In a long rectangular studio, placing the bed toward the quieter end can leave the brighter end for living and dining. In a square studio, one corner often works better because it preserves a larger uninterrupted zone for seating. If the bed has to sit near the entrance, reduce visual bulk with a low-profile frame and keep the side facing the room especially tidy.
Before buying a headboard or divider, tape its depth on the floor. A five- or six-inch projection matters in a narrow studio because it can affect bedside access, drawer clearance, and the width of the adjacent walking path.
2. Give the Living Zone a Stronger Identity
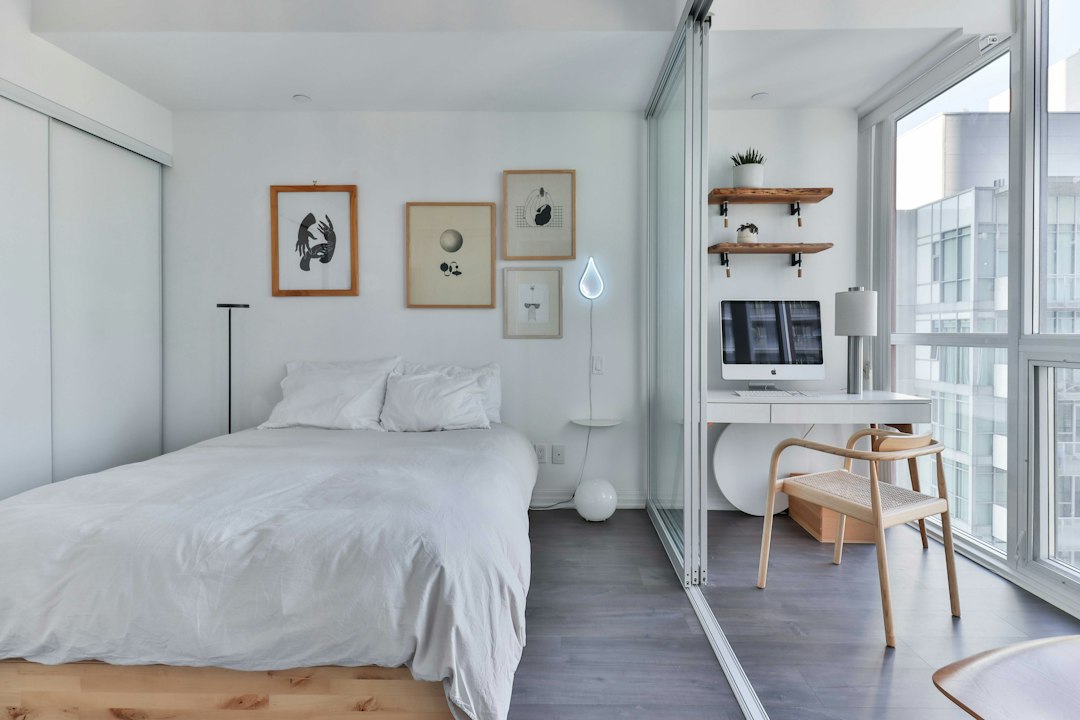
If the bed dominates the studio, do not only try to disguise the bed. Strengthen the living area. Use a correctly scaled rug, a sofa with a clear orientation, a floor or table lamp, and one focal point such as artwork or a media wall.
When the living zone reads as a complete composition, the studio feels more balanced.
3. Use Rugs to Define Zones Without Building Walls
A rug is one of the easiest ways to tell the eye, “this is the living area.” Choose a size that connects the main seating pieces rather than a tiny rug floating between them.
You do not need a rug under every zone. One strong living-room rug may be enough to distinguish relaxing space from the sleeping and kitchen areas.
In a very small studio, try to avoid creating a patchwork of several tiny rugs. That can visually chop one room into too many pieces. A better approach is often one larger rug anchoring the sofa and coffee table, while the sleeping and dining areas are defined with lighting, furniture orientation, or a different wall treatment.
Quick sizing check: tape the rug dimensions on the floor before ordering. If the rug cannot visually connect at least the front legs of the main seating pieces, it may be too small to function as a zone anchor.
4. Turn Furniture to Create Invisible Boundaries
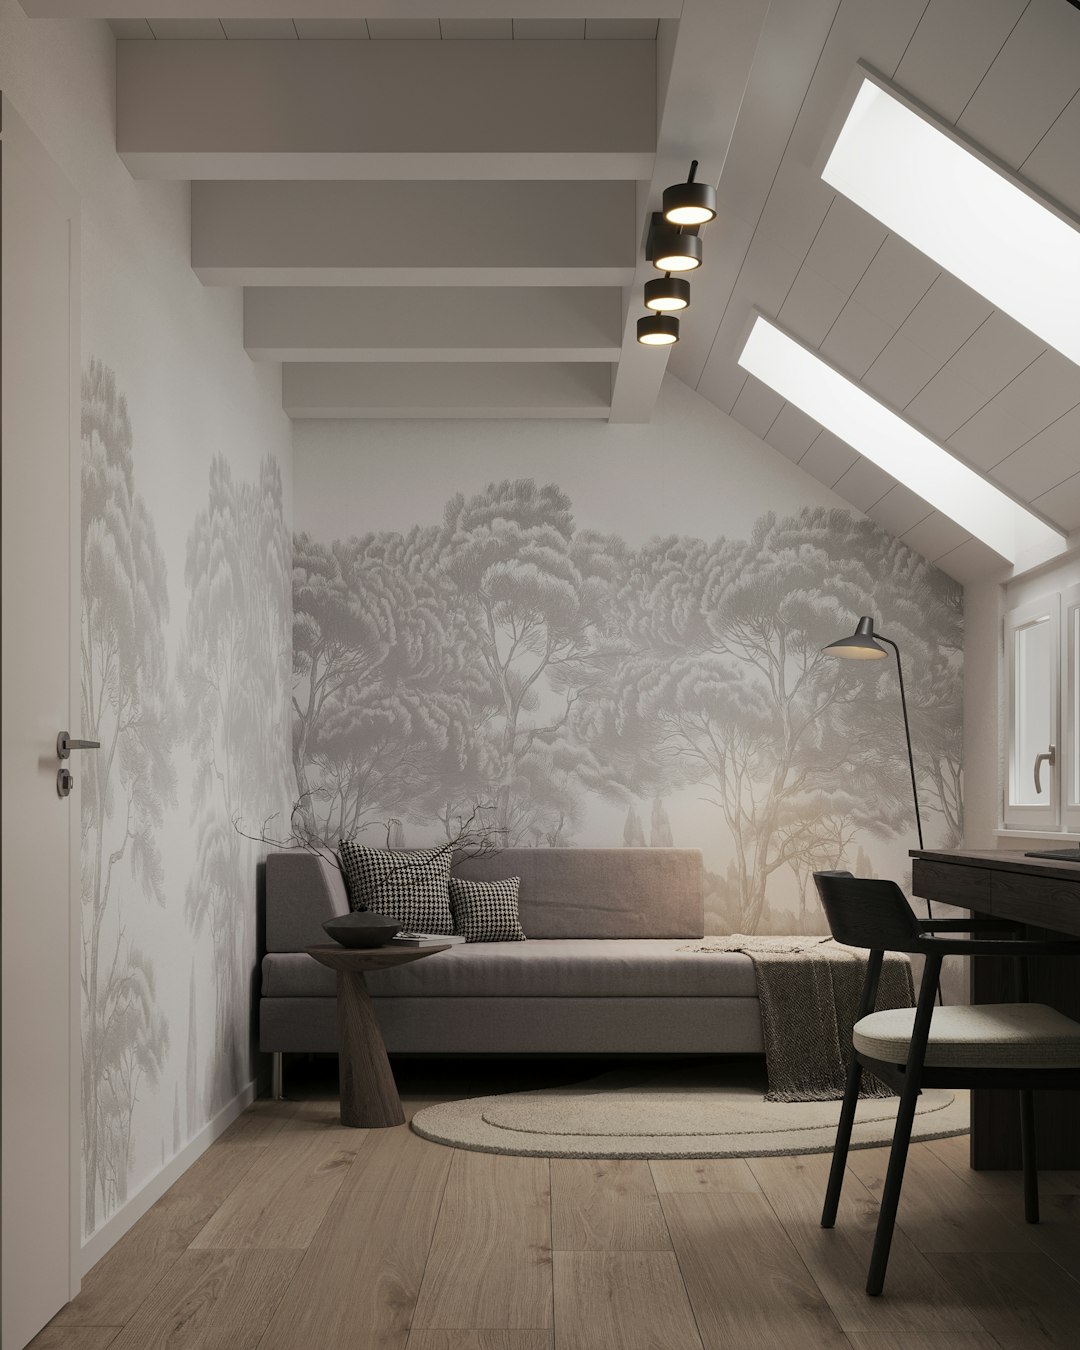
Orientation can separate functions without adding anything new. The back of a sofa can mark the edge of the living zone; a desk can face a wall instead of the bed; a narrow console behind the sofa can create a subtle transition.
Before adding a divider, test whether rotating furniture solves the same problem while preserving light and circulation.
5. Repeat One Palette Across the Entire Studio
Zones can be distinct without looking like unrelated rooms. Choose a base color, a supporting tone, and one or two accents, then repeat them in bedding, cushions, art, rugs, and small accessories.
The colors do not need to match perfectly. Repetition is what gives the one-room apartment visual continuity.
6. Repeat Materials as Well as Colors
If the sleeping zone has warm wood, repeat that wood tone in a side table, frame, shelf, or dining chair. If the kitchen has black metal details, echo them in a lamp or picture frame.
Repeating two or three finishes helps separate purchases look intentional even when furniture was collected over time.
7. Use a Curtain When You Need Flexible Bed Privacy
A ceiling- or wall-mounted curtain can hide the bed when desired and disappear when open. Compared with a solid partition, fabric is visually softer and can preserve more flexibility.
Choose a fabric that relates to the room palette. Renters should verify mounting requirements; where permanent installation is not allowed, consider a suitable tension-based system if the span and product specifications permit it.
A curtain works best when the privacy need is occasional rather than constant. If you work from home and want the bed out of view during calls, for example, closing fabric for a few hours can be more practical than dedicating permanent floor space to a bookcase divider.
For a narrow studio, compare the stacked width of the curtain as carefully as the closed width. Heavy fabric can bunch into the walkway when open. A lighter curtain with enough opacity for your privacy needs may be the better space-saving choice.
8. Choose Open Shelving When Separation Must Preserve Light
An open bookcase can define the sleeping area while allowing light and views through. Keep at least some compartments open so the unit does not become an opaque wall made of objects.
Use baskets or boxes for visually messy categories and display only items that improve the view from both sides.
Think about the shelf as architecture, not just storage. A unit perpendicular to the wall can create a stronger boundary, but it also consumes more circulation space. A shallower unit parallel to the bed creates less separation but may be easier in a studio under about 400 square feet.
Before using a freestanding shelf as a divider, follow the manufacturer’s stability instructions and consider anchoring requirements—especially if the unit is tall, top-heavy, or accessible to children or pets.
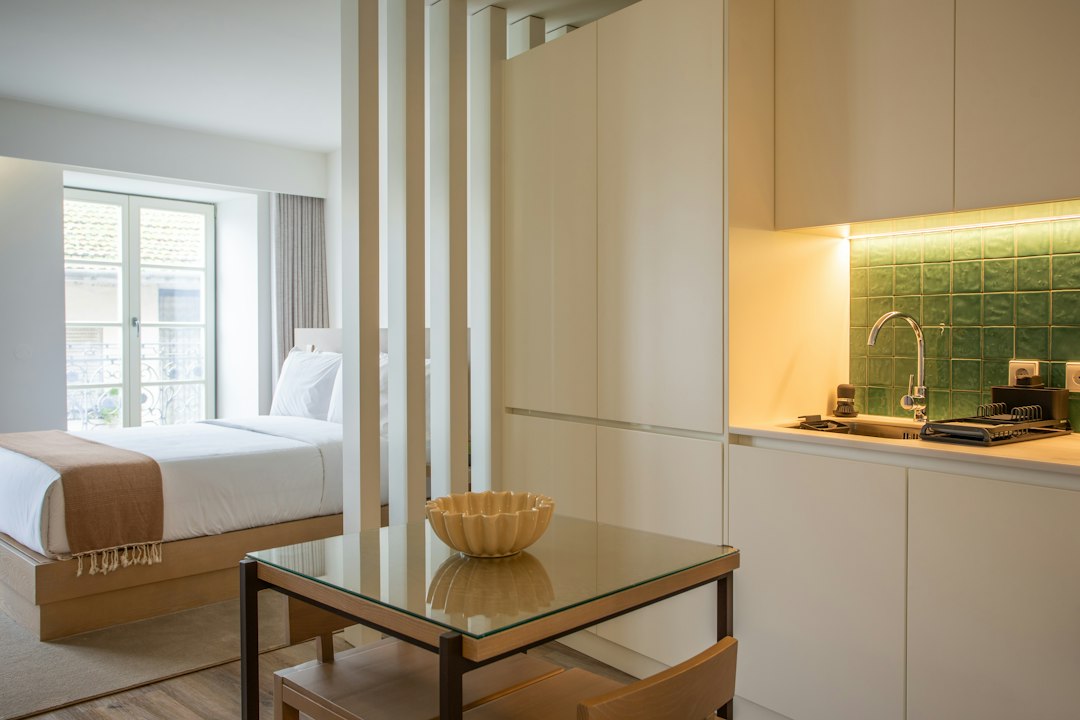
9. Use a Folding Screen for Separation You Can Move
A folding screen works when you occasionally want to hide the bed, desk, or changing area but do not need permanent separation. It can also become a decorative focal point through color, texture, or pattern.
Check its folded footprint before buying; a screen that is easy to move but difficult to store can create a new problem.
10. Layer Lighting by Zone
One overhead light makes a studio feel like one undifferentiated box. Give different functions their own light: a bedside lamp, a floor lamp near the sofa, a task light at the desk, and softer ambient light for evenings.
At night, turning on only the lights associated with the zone you are using makes the apartment feel more layered and spacious.
Think in three layers: ambient light for the room overall, task light for reading, cooking or working, and accent light that makes one zone feel finished. A floor lamp beside the sofa, plug-in sconce near the bed, and compact desk lamp can give three areas different identities without changing the layout.
If the studio has few outlets, map cord paths before buying lamps. A beautiful lighting plan that requires extension cords across circulation routes is not a good small-space solution.
Sleeping: bedding + bedside light + optional curtain/screen
Living: rug + sofa orientation + lamp
Dining: table + pendant/table lighting + art
Work: desk orientation + task light + contained supplies
Use two or three cues per zone. You usually do not need a physical divider for every boundary.
11. Keep the Window Wall Visually Light
Natural light has more value in a studio because it serves several functions at once. Avoid placing the tallest, heaviest storage pieces where they unnecessarily block the main window or interrupt the longest sightline toward it.
If storage must sit near a window, compare a lower cabinet, open shelf, or narrower unit before defaulting to a full-height piece.
12. Use Curtains to Frame More of the Window
Where the architecture allows, mount curtain rods so open panels stack mostly beside the glass rather than over it. Floor-length curtains can also create a stronger vertical line.
Measure the actual wall and window rather than applying a generic “hang them high and wide” rule where there is no clearance.
13. Place Mirrors to Reflect Light or an Open View
Before hanging a mirror, stand where it will go and check what it reflects. A mirror facing a bright window, attractive artwork, or an open portion of the studio can increase visual depth. A mirror facing clutter simply repeats clutter.
One larger mirror often creates a calmer effect than several small mirrors scattered around the room.
14. Use Closed Storage for the Categories You See From Bed and Sofa
In a studio, storage is almost always part of the decor because you see it from everywhere. Books and a few attractive objects can work on open shelves; paperwork, toiletries, cables, cleaning products, and mixed household supplies usually look calmer behind doors or inside baskets.
For more capacity-focused strategies, use our small apartment storage ideas guide.
15. Make the Entryway a Visual Reset Point
Even if the “entryway” is only one wall beside the front door, give incoming items a home immediately. A narrow shoe rack, a few hooks, a small tray, and perhaps a mirror prevent bags, shoes, keys, and mail from spreading into the main room.
A tidy entrance also improves the first sightline every time you come home.
16. Choose Fewer, Larger Decorative Pieces
Twenty tiny decorative objects can make one room feel fragmented. Try one larger artwork instead of many unrelated frames, one substantial plant instead of pots on every surface, or one sculptural lamp that provides both function and character.
This is not a rule against collections. If you love small objects, group them deliberately rather than distributing them across every available surface.
17. Use Texture to Add Interest Without Adding More Colors
A studio can feel rich without a complicated palette. Mix linen, wood, woven fibers, ceramic, glass, metal, and upholstery. Repeating a few textures adds depth while allowing the whole room to stay visually connected.
18. Treat the Kitchen as Part of the Room’s Decor
In many studios the kitchen is fully visible from the bed and sofa. Keep counters relatively clear and let useful objects provide some of the decoration: an attractive cutting board, one tray, a compact fruit bowl, or a few coordinated everyday items.
Repeat a finish or color from the kitchen elsewhere in the studio so it feels integrated rather than like a separate utility strip.
19. Make the Workspace Disappear After Work
If your desk is visible from the bed, create a shutdown ritual. Put laptop accessories, notebooks, and cables into a drawer, box, cabinet, or mobile cart at the end of the day. A visually quiet desk helps the studio change character from workplace to home.
If you rarely work at home, a drop-leaf table or compact console may be more useful than a permanent full-size desk.
Match the workspace to how often you actually use it. Someone working from home five days a week should prioritize an ergonomic chair, reliable task lighting, cable management, and enough surface depth for a monitor. Someone answering email for an hour at night may be better served by a console that also works as an entry table or vanity.
Example: in a 430-square-foot studio, a 48-inch desk can easily consume the wall that would otherwise hold closed storage. If the desk is only used occasionally, replacing it with a 30-inch folding or dual-purpose surface can free enough wall width for a cabinet that solves a daily clutter problem.
20. Use Reversible Decor to Give a Rental Personality
Rugs, curtains, lamps, art, mirrors, bedding, removable hooks, freestanding shelving, and textiles can change a rental dramatically without major construction. Removable wallpaper or adhesive products can also work, but test a hidden area and follow both product instructions and lease requirements.
21. Leave One Part of the Studio Deliberately Quiet
Do not fill every blank wall, corner, shelf, and tabletop. A quiet wall, partially empty shelf, or clear stretch of floor gives the eye somewhere to rest and makes the pieces you do display more noticeable.
In one-room living, negative space is not wasted space. It is part of the composition.
Which Studio Divider Should You Choose?
| Divider | Best when | Watch for |
|---|---|---|
| Curtain | You want flexible privacy | Mounting method and fabric bulk |
| Open shelving | You need storage plus separation | Overfilling shelves and blocking light |
| Folding screen | You want movable separation | Where it goes when folded |
| Sofa orientation | You mainly need visual zoning | Maintaining a clear walkway |
| Rug + lighting | You need the lightest visual boundary | Rug scale and enough lighting contrast |
Three Studio Decorating Scenarios
A very compact studio where the bed fills the view
Make the bed visually calm rather than trying to hide it at all costs. Use coordinated bedding and a defined headboard area, then create a stronger living zone with a rug, lamp, and one comfortable seat. If privacy matters, test a curtain or folding screen before adding a bulky storage divider.
A studio with one large window at the far end
Protect the sightline toward the window. Keep tall storage to side walls where possible, avoid an opaque divider across the room, and use lower furniture near the light path. Place a mirror where it can return daylight into a darker part of the studio.
A studio that doubles as a work-from-home office
Give the desk a defined boundary through orientation, task lighting, and contained storage. Keep work supplies out of the sleeping zone and close down the desk visually at the end of the day. If video calls matter, plan the background intentionally instead of allowing the bed or drying laundry to become the default view.
How to Decorate Different Types of Studio Apartments
For a long, narrow studio
Use the length of the room to your advantage by arranging zones in sequence rather than trying to make every function face the center. Keep the main walkway along one side, place lower furniture where it preserves the longest sightline, and avoid creating a divider that cuts the room in half visually. A sofa perpendicular to the long wall can define the living area, but test the clearance carefully before committing.
For a square studio
Square studios often have less obvious zoning, so furniture orientation becomes more important. Anchor one corner or side with the bed, define the living area with a rug, and use a desk, dining table, or storage unit to create a third functional edge. Try to avoid placing every major piece flat against the perimeter, which can leave an empty center but still make the room feel unresolved.
For a studio with a bed alcove
Treat the alcove as an advantage rather than over-decorating it. A distinct wall color, curtain, headboard, or pair of sconces can make the sleeping area feel intentional while the main room stays visually calmer. Because the bed already has architectural separation, you may not need another divider.
For a studio with the kitchen on one wall
Make the kitchen read as part of the room instead of a separate strip of utility clutter. Keep counters controlled, repeat one kitchen finish elsewhere in the studio, and use dining furniture that creates a transition between cooking and living. If the kitchen cabinetry is visually heavy, balance it with lighter furniture and fewer open displays in the rest of the room.
For a studio with very little natural light
Do not rely on white paint alone. Build layers of light at several heights, keep bulky furniture away from the brightest opening, use reflective surfaces selectively, and choose lamps that illuminate both tasks and surrounding walls. A darker but cohesive palette can still work if the lighting is intentional and the room is not overloaded with competing finishes.
A Better Way to Choose a Studio Apartment Divider
Room dividers are useful when they solve a specific problem: privacy, visual separation, storage, or a poor sightline. They are less useful when they simply make the studio feel more “room-like” at the cost of daylight and circulation.
| Your main problem | Try first | Move up to this if needed |
|---|---|---|
| The bed is visually dominant | Rug, sofa orientation, stronger living focal point | Curtain or folding screen |
| You need true sleeping privacy | Curtain | Open shelving or a more substantial divider if light allows |
| You need storage and separation | Low console or open shelf | Taller open shelving |
| You work from home | Desk orientation and task lighting | Screen or shelf behind the desk |
| You have one important window | Visual zoning only | Transparent, open, or movable divider |
A useful rule is to choose the least visually heavy solution that solves the actual problem. If a rug and furniture orientation already make the living area feel separate, an additional partition may only consume light and flexibility.
Studio Apartment Decorating by Budget
If you have about $100
Focus on visual order rather than furniture. Rearrange the existing layout, clear the entry sightline, consolidate small decor, improve the bed styling, and add one lamp or textile that repeats your chosen palette. If the room lacks a focal point, thrift one larger piece of art instead of buying several small accessories.
If you have about $500
Fix the most obvious scale or zoning problem. That could mean a larger rug, better curtains, a substantial mirror in the right location, a folding screen, a closed storage cabinet, or two to three coordinated light sources. Do not divide the budget evenly across many small purchases; use most of it on the one change that affects the whole room.
If you have about $1,000
Consider one foundational upgrade such as a properly scaled sofa, storage bed, compact dining/work table, or high-capacity closed storage piece. Then use the remaining budget to improve lighting and textiles so the new piece feels integrated. A single excellent functional purchase usually improves a studio more than an accessory-heavy refresh.
How to Style a Studio Without Making It Feel Like a Showroom
A highly coordinated studio can become flat if every object matches. Cohesion should come from repetition, not duplication. Repeat a few colors, materials, and shapes, then allow personal objects to break the pattern.
For example, a studio might repeat warm oak, black metal, and muted green across the bed, living area, and kitchen while still including books, travel objects, art, and textiles that are not part of a purchased set. This gives the room continuity without making it feel staged.
Use collections as one visual unit
If you collect ceramics, books, records, or art, display them as a deliberate group rather than scattering them across the studio. A collection becomes a focal point; scattered objects become background noise.
Let one zone be more expressive
The whole studio does not need equal decorative intensity. You might keep the sleeping zone quiet and make the living area colorful, or keep furniture neutral and let one wall carry artwork and pattern. Concentrating personality in selected places can make the room feel richer and calmer at the same time.
What to Buy First for a Studio Apartment
Do not begin with decorative accessories. Solve the largest visual or functional problem first.
- Fix the main layout problem. Make sure the bed, seating and walking paths work before styling.
- Choose one zone-defining piece. Often this is a living-room rug, curtain/screen, or lighting.
- Solve visible clutter. Add closed storage only for a clearly defined category.
- Improve lighting. Add task and ambient sources where the studio feels flat or dark.
- Repeat the palette. Use textiles and art to connect the zones.
- Add personality last. Finish with a smaller number of objects you actually want to see every day.
Studio Apartment Decorating Mistakes to Avoid
- Using a divider automatically. Separation is useful only if it does not make the studio darker or harder to move through.
- Giving every zone a different theme. The apartment still needs to read as one room.
- Buying many tiny pieces. Too many undersized objects create more visual edges and clutter.
- Ignoring the bed. It is visible furniture; treat bedding, lighting and the headboard area as part of the room design.
- Blocking the strongest daylight path. Tall storage and opaque dividers can make the whole studio feel smaller.
- Using open storage for everything. Mixed household items quickly become visual noise.
- Decorating before solving clutter. If the room lacks usable storage, fix that before adding objects to surfaces.
A One-Weekend Studio Decorating Reset
- Friday: photograph the studio from the entrance and bed, then identify the dominant visual problem.
- Saturday morning: clear visible clutter and remove decor that does not support the palette or a meaningful collection.
- Saturday afternoon: test furniture orientation and zone boundaries using what you already own.
- Saturday evening: turn off the overhead light and note where each zone needs its own lamp.
- Sunday morning: style the bed and living zone as two related compositions.
- Sunday afternoon: make a short shopping list with exact dimensions for only the remaining problems.
Ask whether the item does at least one of these jobs: defines a zone, improves light, hides recurring clutter, adds a repeated color/material, or creates a meaningful focal point.
If it does none of them and simply fills an empty surface, leave the space empty for now.
Frequently Asked Questions
How do I decorate a studio apartment without making it look cluttered?
Keep a limited palette across the whole studio, use closed storage for visually inconsistent categories, group decorative objects rather than scattering them, and leave some surfaces and wall areas intentionally empty. Define zones with rugs, lighting and furniture orientation instead of adding objects everywhere.
How can I separate my bed in a studio apartment?
Start with visual zoning: orient the sofa away from the bed, define the living area with a rug, and give the bed its own lighting and bedding palette. If you need more privacy, consider a curtain, open shelf, or folding screen while protecting daylight and circulation.
What colors work best in a studio apartment?
There is no required “small-space” color. A cohesive palette matters more than making everything white. Choose a dominant base, one supporting tone and one or two accents, then repeat them throughout the sleeping, living, dining and work areas.
How do I make a studio apartment feel bigger?
Protect clear walking paths and the main window sightline, reduce surface clutter, expose some continuous floor, use mirrors to reflect useful light or open views, and avoid unnecessary tall dividers. Our studio layout guide goes deeper into arranging the room itself.
Should a studio apartment have a room divider?
Not necessarily. A divider is useful when privacy or a strong visual boundary solves a real problem. If rugs, lighting, furniture orientation or a curtain can create enough separation, the studio may feel more open without a permanent divider.
How do I decorate a studio apartment on a budget?
Start by rearranging furniture, editing visible clutter and repeating items you already own by color or material. Then spend on the problem with the biggest impact—often a correctly scaled rug, better lighting, bedding, closed storage, or one zone-defining piece—before buying small accessories.
The Bottom Line
The best studio apartment decorating ideas do two things at once: they give each activity a recognizable place while keeping the apartment visually connected. Start with the bed and the view from the entrance, protect daylight and circulation, use rugs and lighting to define zones, repeat colors and materials, and conceal the categories that create visual noise.
A studio does not need to look like a larger apartment divided into miniature rooms. It can look better when its openness is treated as part of the design.


